Wild about nature – Flower fairies
This week’s Wild about Nature activity is all about imagination. Have a go at making your own flower fairies from petals and leaves to create some magical and colourful results.
What You’ll Need
- Petals, flowers and leaves from the garden or a nature walk – try to pick flowers that look a bit tired
- Paper
- Pens or pencils
- Glue/glue stick (optional)
- Plus some heavy books and paper towels or old newspaper if you’d like to press them
How to make your flower fairy
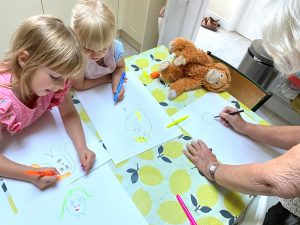
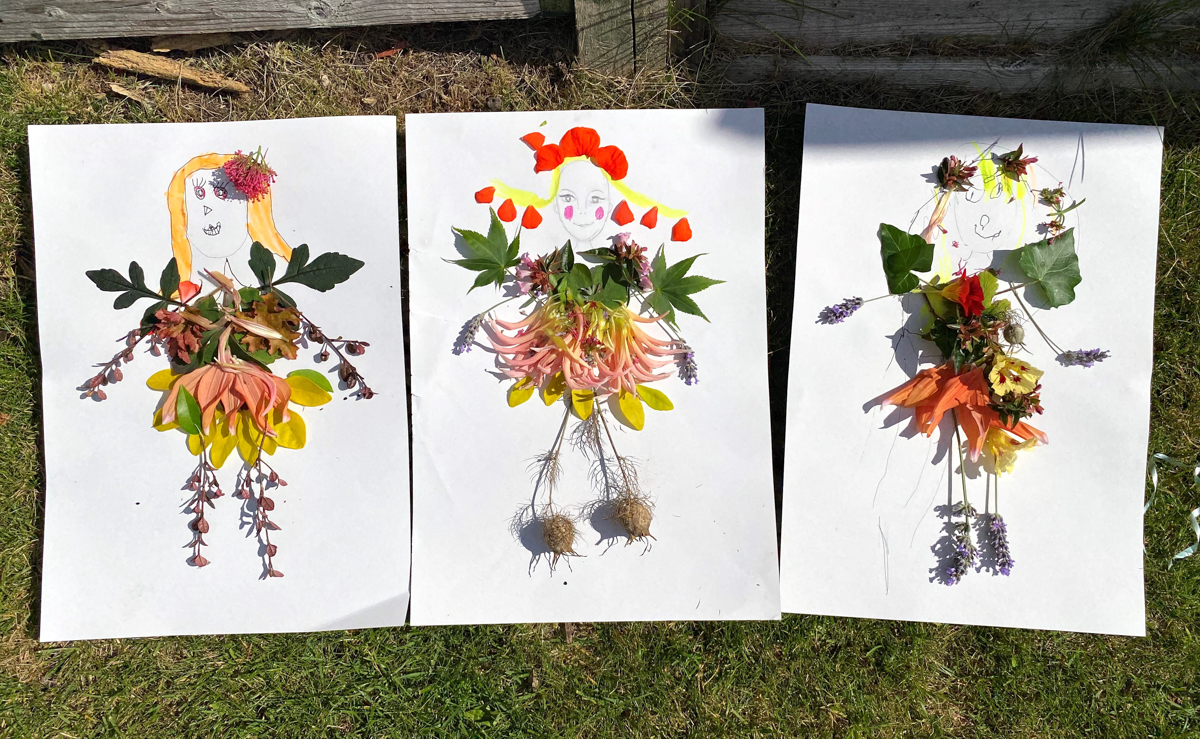
- Draw a face near the top of a piece of paper, leaving some room to add hair, hats and accessories
- Collect different flowers, leaves and petals in a bowl
- Place your natural materials on the paper to make the rest of your fairy – don’t forget to give them arms, legs and wings. Using glue helps stop things from sliding around on the paper, but if you don’t want to use glue you can just place your petals and leaves, take a photo and then use the same materials to make as many fairies as you like
- Give your fairy a name and come up with some facts about them. Where do they live, what do they like doing? You could even use your fairy as a character in a story
- If you’d like to preserve your finished flower fairy, put some wax paper, kitchen towel or old newspaper on top of the sheet of paper and put it in a heavy book to press it. You’ll need to leave the book in a dry place for at least a week before checking if your fairy is pressed and all the materials are completely dry
Don’t forget to take some photos of your flower fairies and tag us on Facebook, Twitter or Instagram.
Check out other Wild about Nature activities here.